It’s long been said that the best camera is the one you have with you. One scroll through your Instagram feed and you may look twice, wowed by the quality of photos coming from the phone.
Improvements in sensor and lens quality have made it possible to shoot professional-looking photos with a smartphone. Once you learn how to take good photos with your phone, you’ve set yourself up for stronger images that you can share on social media or display in a custom photo book from My LifeStory without having to take the time to painstakingly edit each image individually.
Here are some tips you can use to take your smartphone photography to the next level:

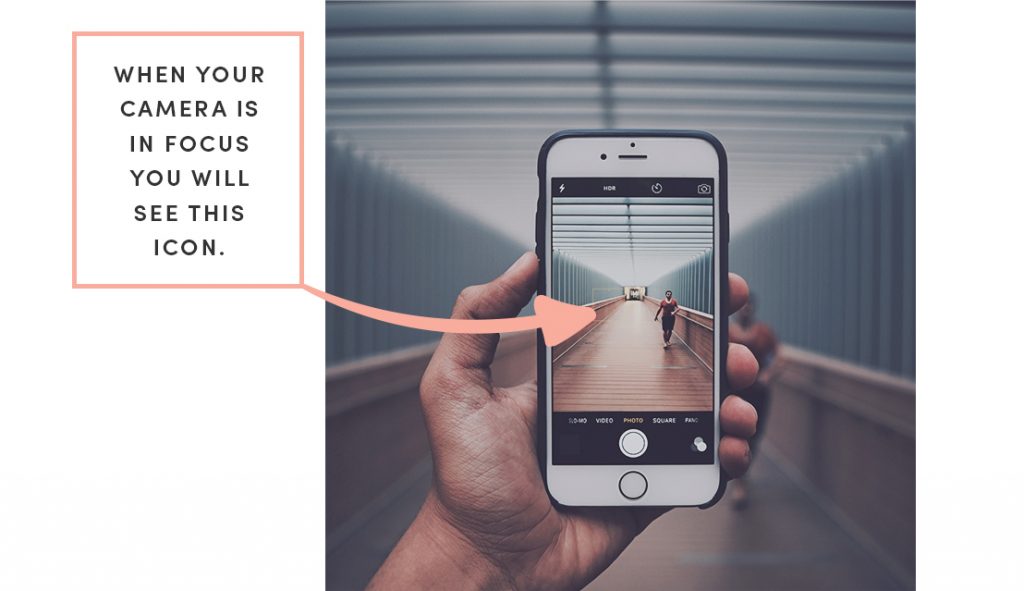
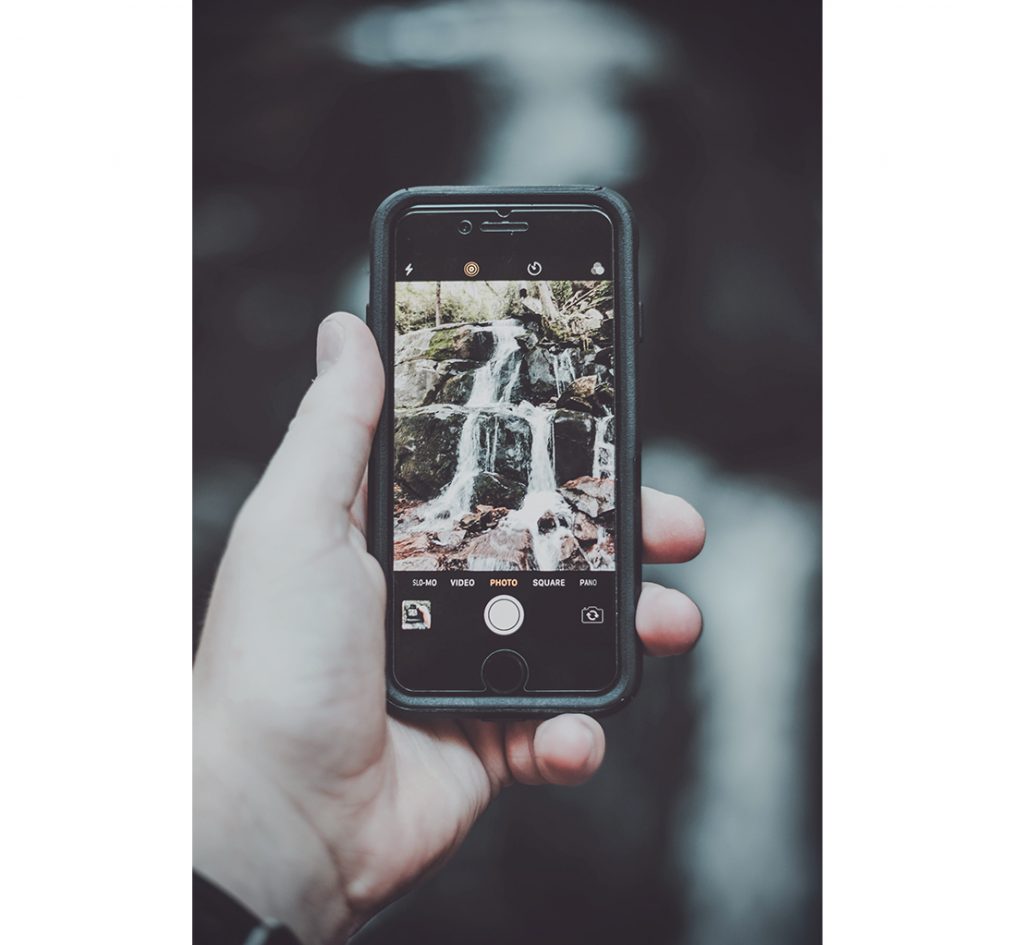
Today’s phone cameras automatically focus on the foreground of your frame, but not every picture you take on your phone has an obvious subject. To adjust where you want your camera lens to focus, open your camera app and tap the screen where you want to sharpen the view.
If you’re taking a photo of something in motion, for example, it can be difficult for your camera to follow this subject and refocus as needed. Tap the screen to correct your phone camera’s focus just before snapping the picture to ensure the moving subject has as much focus as possible. A square or circular icon should then appear on your camera screen, shifting the focus of your shot to all of the content inside that icon.
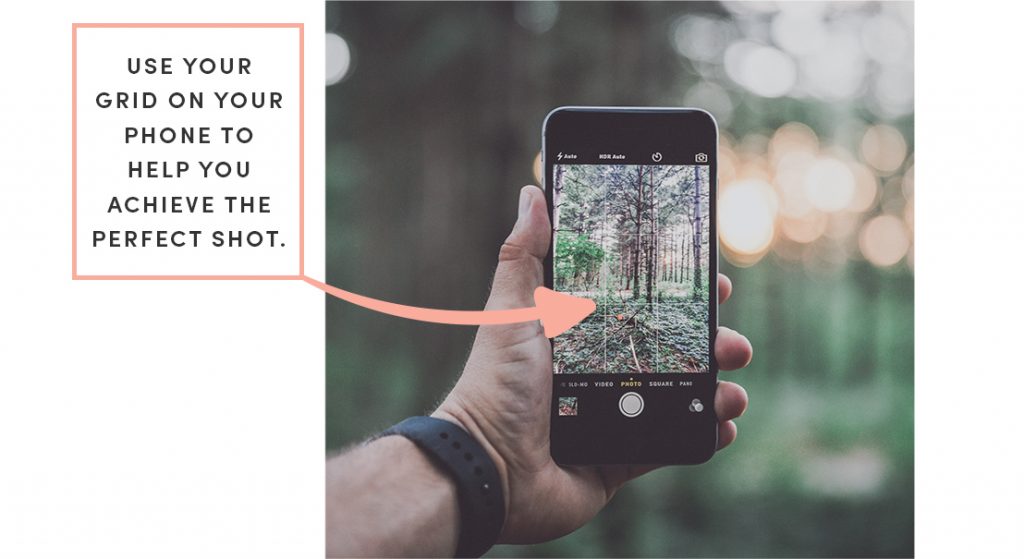
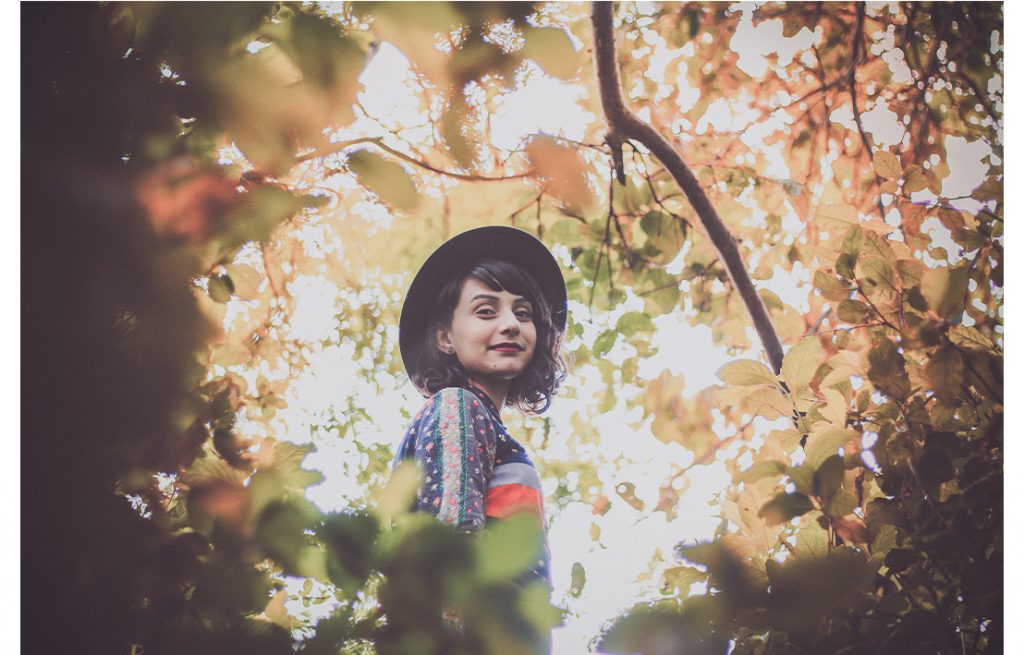
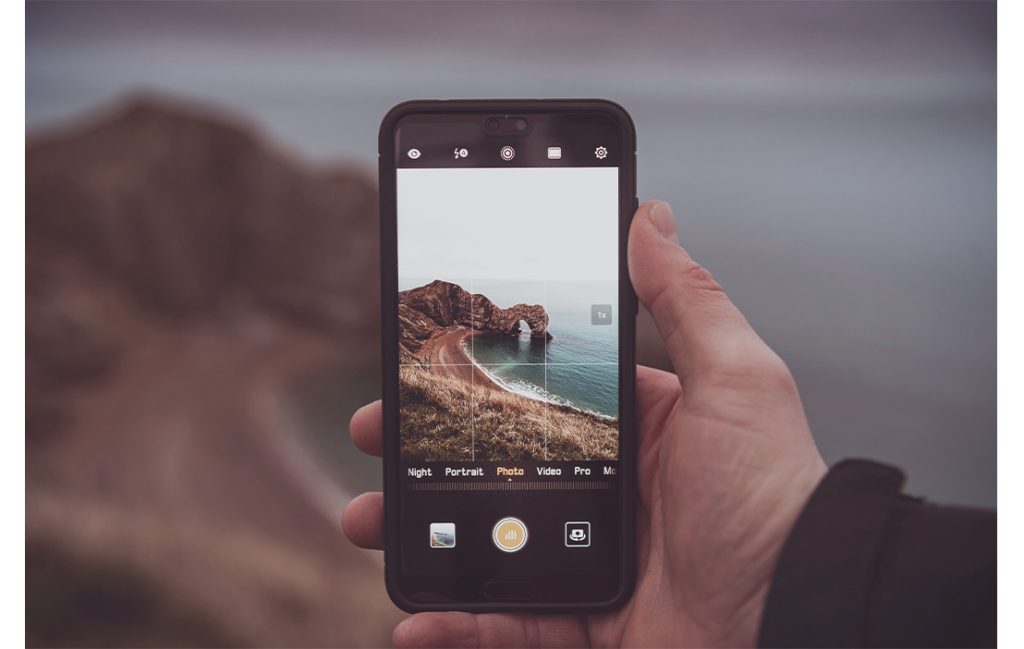
Many of the best photos include just one, interesting subject. So when taking a picture of one, spend some extra time setting up the shot. Some professional photographers say that the subject shouldn’t fill the entire frame, and that two-thirds of the photo should be negative space — that helps the subject stand out even more.
Pro Tip: Once you’ve taken your photo, you can use filters and apps to make the subject even more vivid, or to crop it to frame the subject correctly. The brightness, contrast, and saturation of the photo can also be adjusted accordingly — all from your phone.
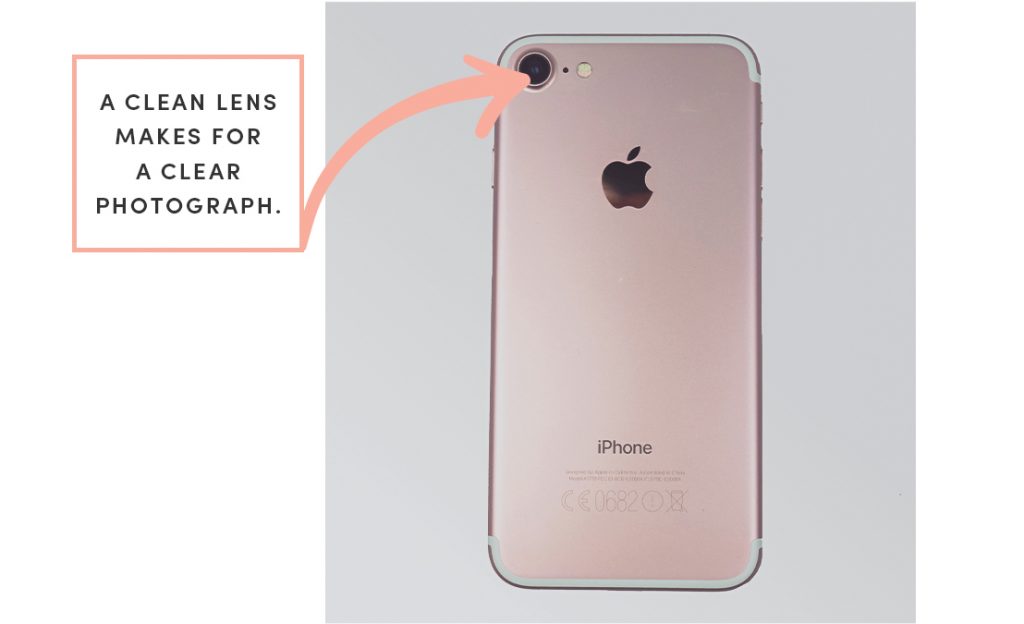
Your phone is usually in your pocket or your bag when you’re out of the house. All the while, the device’s camera lens is collecting all kinds of dust and lint. Be sure to clean this lens with a soft handkerchief before taking a photo. You might not be able to tell just how dirty the lens was until you start editing your picture, and making sure the lens is crystal clear before taking a shot can keep you from starting from scratch.

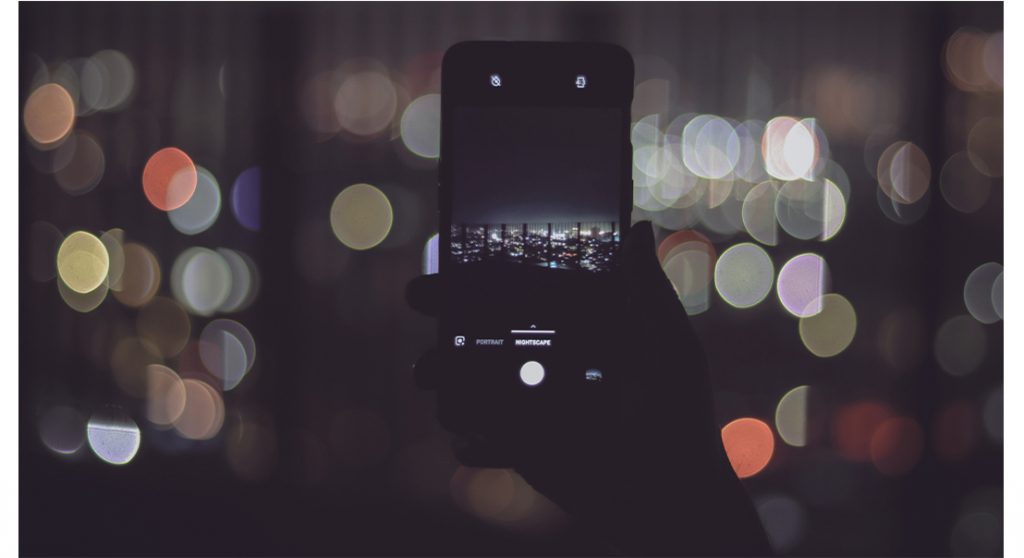
It’s hard to find a great smartphone photo that was taken with a flash. Most of the time, they make a photo look overexposed, negatively altering colors and making human subjects look washed out. Take advantage of the sources of natural light you can find, even after dark. This gives you a chance to play with shadows or create a silhouette with other ambient sources of light, like traffic and surrounding buildings.
Once you’ve taken the photo, play with the “Exposure” tool in your favorite photo editing app to see if you can make the image slightly brighter, without making it too grainy.
Automated night-time photography settings can be helpful, but sometimes they backfire. Most of the time, a night setting brightens the exposure. Great for showing more detail, terrible for clarity and balance. If your night-time photos continually disappoint, play around with reducing the exposure to make photos darker. It may sound backward, but depending on the effect you’re after, it could yield better overall photos.

Turning your smartphone on its side has an added benefit — you can use the “volume up” button as the shutter. This is a benefit because using the standard shutter button will often throw your perfect picture off balance- you will be forced to use both hands. This will increase stability and reduce shaking.
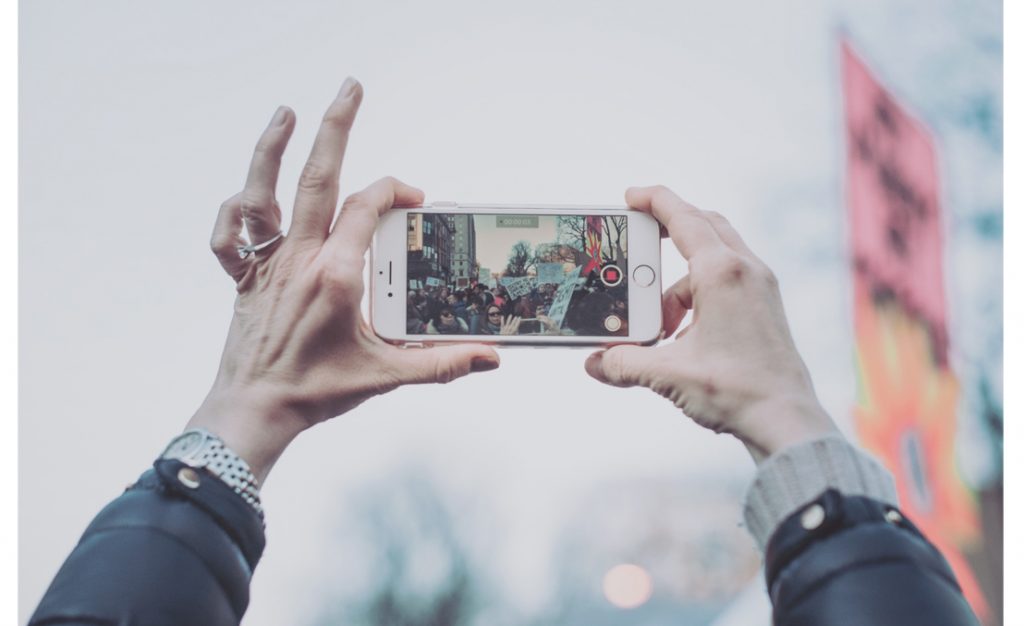
When you take a photo from a distance, it’s tempting to zoom in on something specific you’re trying to capture. But it’s actually better not to zoom in — doing so can make the photo appear grainy, blurry, or pixelated. Instead, try to get closer to your subject – unless it’s a wild animal, in which case we would advise keeping your distance – or take the photo from a default distance, and crop it later on. That way, you won’t compromise quality, and it’s easier to play around or optimize a larger image.
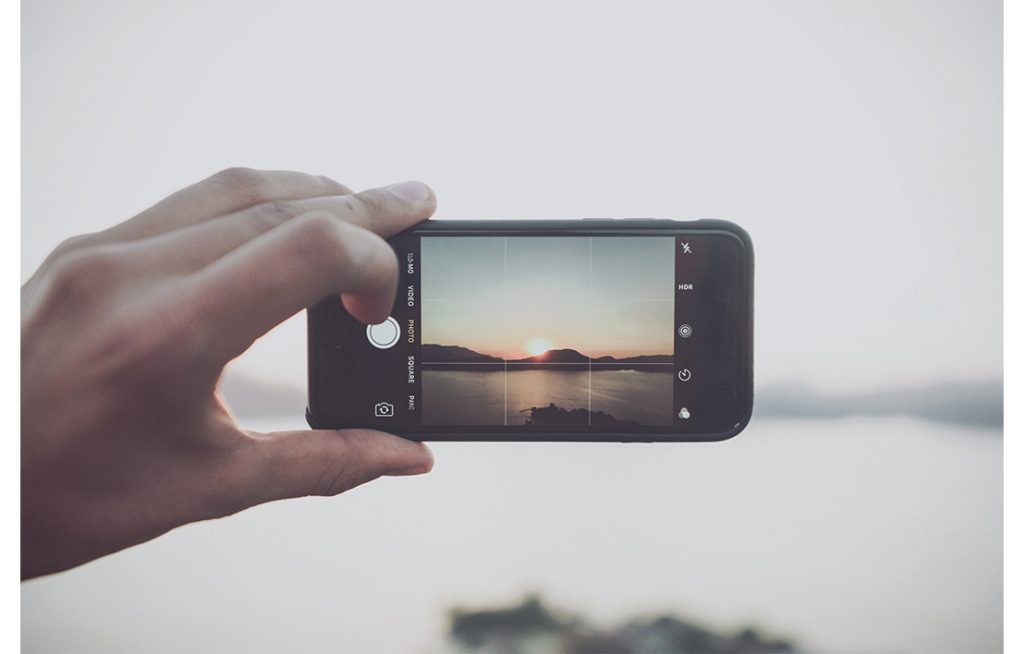
HDR, or High Dynamic Range, is now a staple feature for smartphone cameras, it brings detail out of the darkest and lightest parts of your picture and creates a better balance of colors overall. The downside is that, in HDR mode, photos take a little longer to process while your smartphone works all this out- you should avoid using it on fast-moving subjects or when you can’t keep your phone steady.
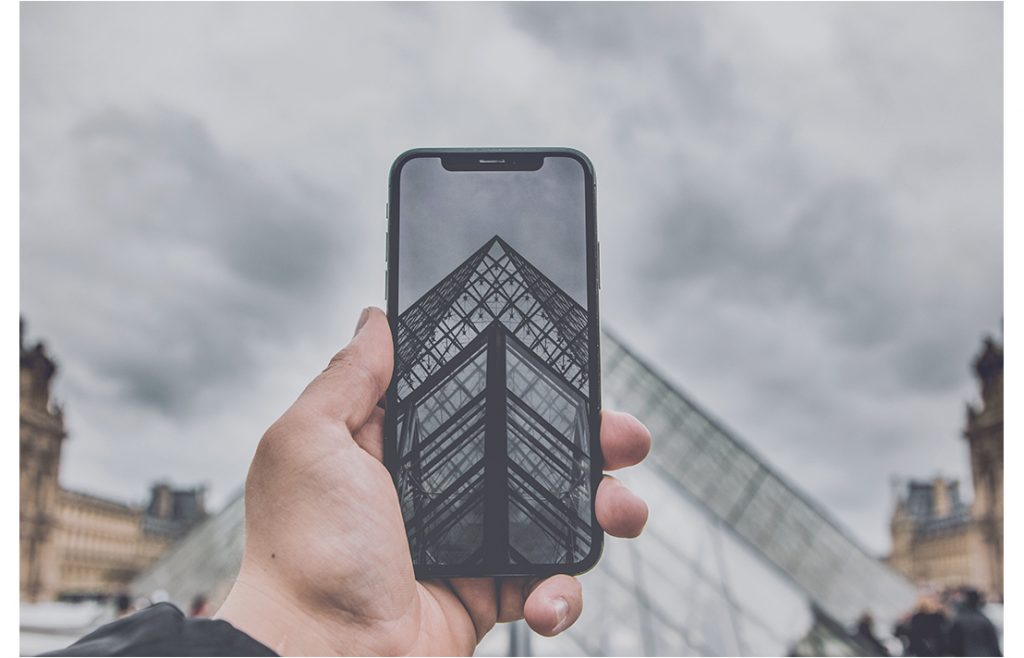
Taking photos from a unique, unexpected angle can make them more memorable – it tends to create an illusion of depth or height with the subjects. It also makes the image stand out, since most mobile photos are taken either straight -on or from a bird’s eye view.
Try taking a photo directly upward and playing with the sky as negative space, or try taking it at a slight downward angle.
Pro Tip: If you take a photo and find the perspective is a little askew or tilted, use the SKRWT photo editing app to make the lines look clean and square.
“Negative space” simply refers to the areas around and between the subjects of an image -and it can take a photo from “good” to “great.”
When you include a lot of empty space in a photo, your subject will stand out more and evoke a stronger reaction from your viewer. And what does negative space looks like? It’s often a large expanse of open sky, water, an empty field, or a large wall.

Camera phone photography doesn’t end with the phone. With the My LifeStory app, you can easily create personalized photo books for only R355 or R255 for a monthly photo books. They’re an efficient way to store your photos and to give as gifts. Spend a few minutes choosing pictures from your phone, social media feeds, or cloud storage, and you’ll come away with high-quality printed images that don’t need a battery to be enjoyed.
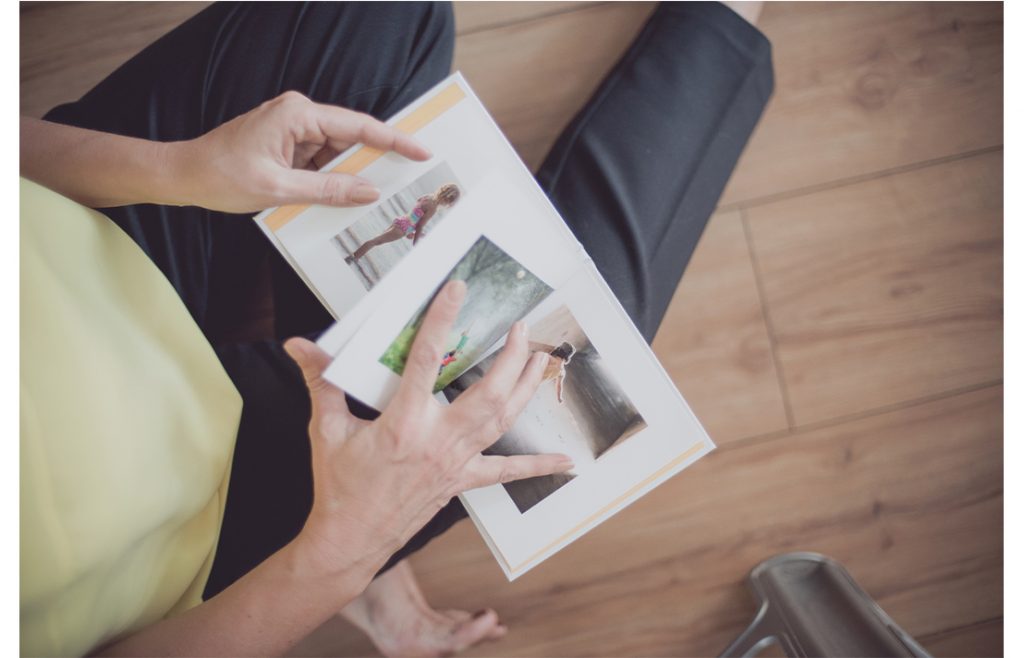
Nothing is sweeter than reminiscing over photos from the past, reflecting on how your family has grown and the fun times you’ve shared together. If your phone camera is overflowing with pictures and you want to help them see the light of day, create a photo book to give as a gift, it’s perfect and thoughtful for every occasion be it a birthday, an anniversary or mothers day – nothing says i’m thinking of you like a handmade gift.